> For the complete documentation index, see [llms.txt](https://docs.conektto.io/llms.txt). Markdown versions of documentation pages are available by appending `.md` to page URLs; this page is available as [Markdown](https://docs.conektto.io/product-guides/create-new-api/data-provider-api-design.md).
# Data Provider API Design
Conektto is one of very few platforms that enables product managers to connect their data source and build APIs easily without knowledge of complex JSON or YAML.
Conektto supports most of the commonly used relational database like SQL Server, Postgres and MySQL.
With Conektto's design studio, you can securely connect to your database server hosted on cloud or a VM with external IP, scan schema, order and sequence, make your entities available as drag/drop into the design studio.
Before you design, make sure to:
1. Define the purpose and scope of the API: Determine the specific data or functionality that the API will provide and how it will be used.
2. Identify the data sources: Determine where the data will come from and how it will be collected. Identify host credentials and/or SSL certificates for connecting to the database.
3. Define the API structure and endpoint: Decide on the structure of the API, including the endpoint and the data fields that will be provided.
4. Validate and define business logic: relationships/joins and filter conditions
5. Publish the API documentation: Publish the API design that generates Open API spec, Java Spring boot code, .NET EF code, Apgiee endpoint, API Test workspace, and the ability to push to your GitHub workspace.
6. Test the API: Test the API to ensure that it functions as expected and that the data is accurate.
7. Release the API to the public or specific users: Make the API available for use by the intended audience.
### Create API Project
#### :white\_check\_mark:**Click "Create New API" and Click "Design Studio"**

### Connect Database
#### :white\_check\_mark:Click "Next" to connect your database
Select Database Server Type, and provide host credentials for the desired database under design. You may also choose to connect to your database through SSL. You are required to upload your SSL certificates if you choose to do so. Click "Test" to test the database connection. If you have trouble in connecting the database, check "[Support](broken://pages/61UjZQIiNnPPp8Gi2mXX)" section for additional details.
### Invite Collaborators
#### :white\_check\_mark:Click on "Invite Collaborators"
APIs are no good designed, built or tested in silos. Invite your desired users or stakeholders that you would like to share the API Design project by providing their email id. The respective users will get an email with a link for collaboration.
#### :white\_check\_mark:Click on "Done" to continue with collaborators or "Skip for now" to add collaborators later
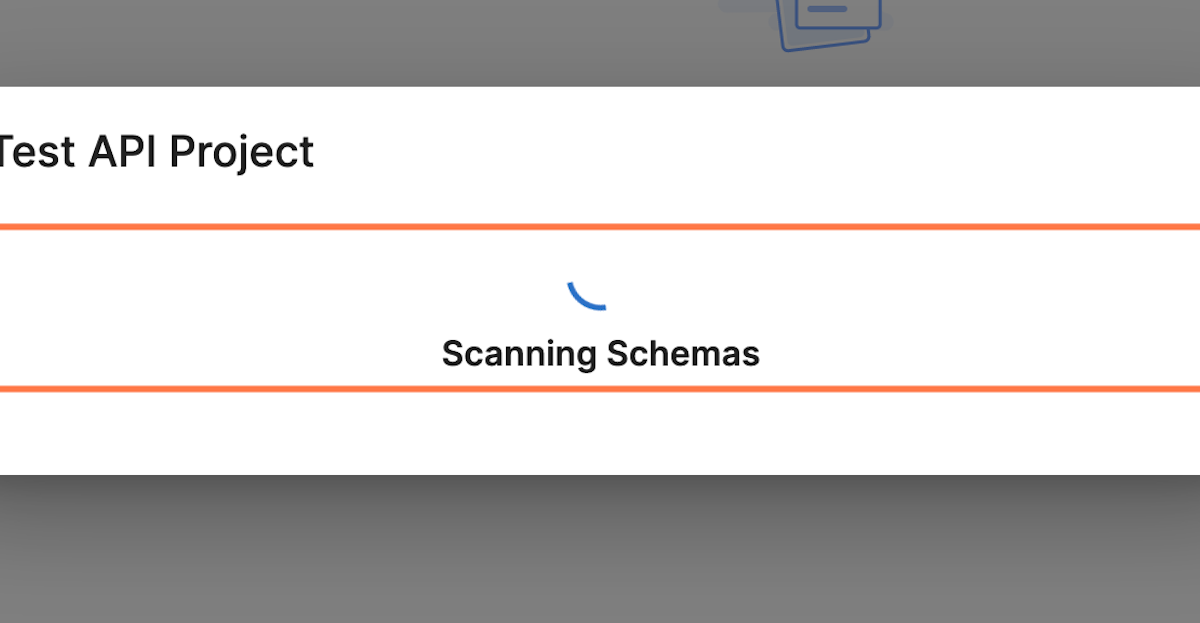
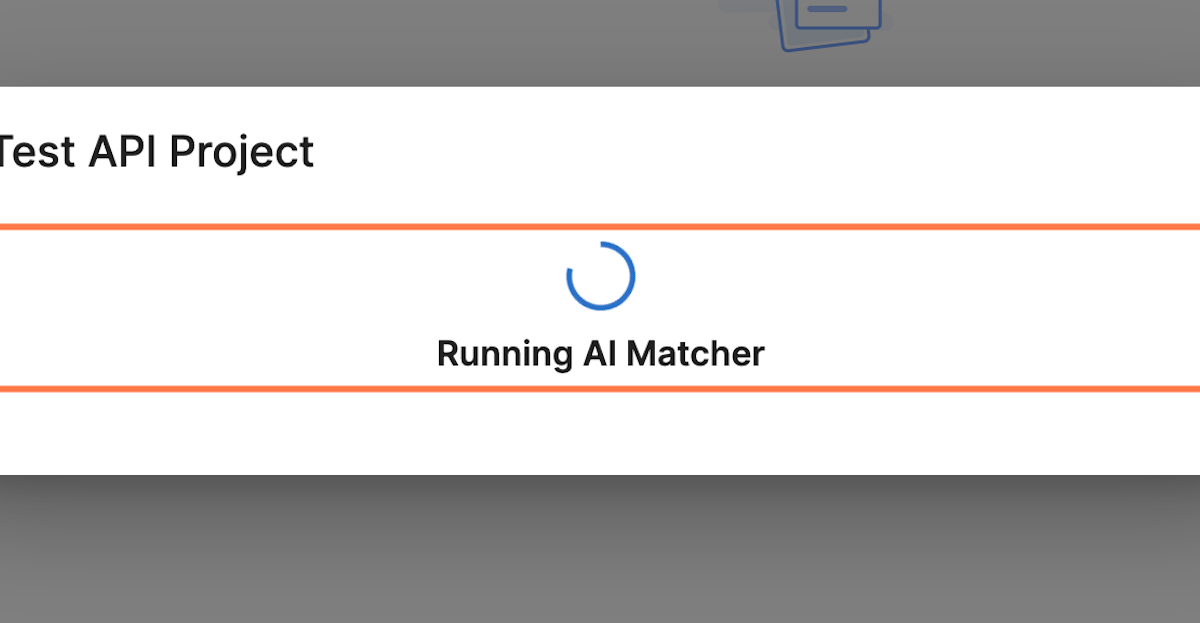
#### :white\_check\_mark: Conektto's engine now scans your API schema, your database, runs our patent pending NLP matching process before loading your API test studio designer.
:warning:This process may take several minutes based on the complexity of your schema, database and volume of data.
### Examine your data tables, columns, and all entities
#### :white\_check\_mark: After successful scanning and matching, you will be presented with Design Studio, you will notice all your tables and columns from your database schema available.
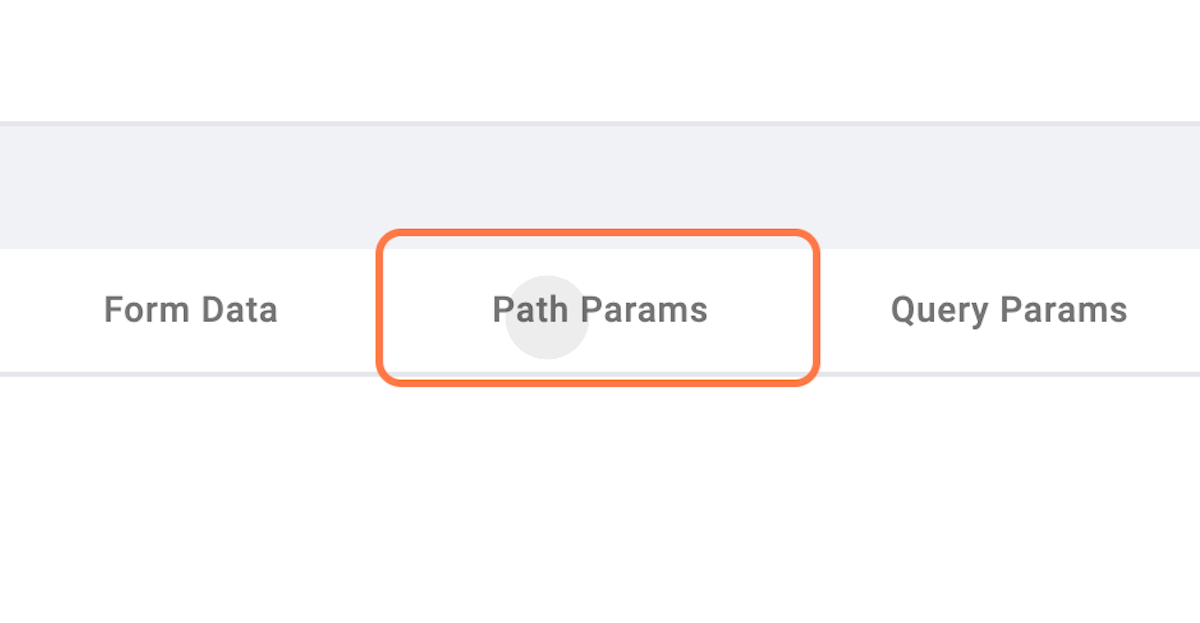
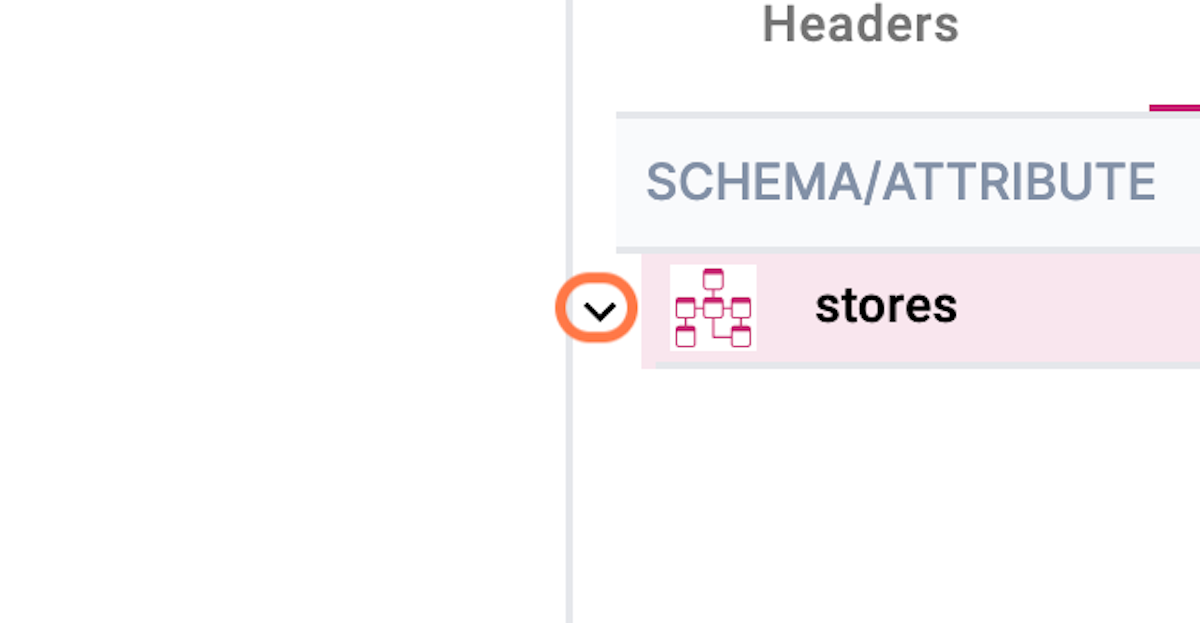
:information\_source:You can navigate between tables view and respective columns view by using the navigation as illsutrated : 
 
### Create custom parameters
:white\_check\_mark:Create custom paramters if you would like to define groups for your entities. If your entities are direct attributes, you can drag and drop the enities in the contract designer and start renaming. Refer the [API Standards and Governance](/product-guides/api-standards-and-governance.md)for supported naming conventions.

Refer[Free Format API design](/product-guides/create-new-api/free-format-api-design.md#create-parameters)for step by step instructions on how to use the interface for parameter creation.

### Create your API contracts - Rest endpoints, Operations, and payload structure
:white\_check\_mark:**Create Resource & add Path**
Resource is the primary data representation. Having a consistent and robust REST resource naming strategy – will prove one of the best design decisions for consumability, maintenanbility, avoid API sprawl and API lineage.
A **resource can be a singleton or a collection**.
URI = resources + Path
For example, “`accounts`” is a collection resource and “`account`” is a singleton resource (in a customer domain).
Similarly, a singleton resource “`department`” inside the **path** resource “`departments`” can be identified as follows: “`/accounts/{accountId}/departments/{departmentId}`“.\
\
REST APIs use [Uniform Resource Identifiers](https://en.wikipedia.org/wiki/Uniform_Resource_Identifier) (URIs) to address resources. Product Managers and API designers should consider creating URIs that convey a REST API’s resource model to the end users or consumers of the API. When resources are named well, it makes the API intuitive, aligns with product strategy and easy to use.

URI should refer to a resource that is a thing (noun) instead of referring to an action (verb) because nouns have properties that verbs do not have – similarly, resources have attributes. Some examples of a resource are consumers of your API, users of your product, user accounts or account groups, etc.\
\
:warning:Prevent using upper case, underscores, actual CRUD verb, query component, etc.
:thumbsup:Using (-) hyphens improves readability of the resources / URI
#### HTTP Method / Operations
REST APIs enable product managers and API teams to build web applications having all possible CRUD (create, retrieve, update, delete) operations.
[REST guidelines](https://restfulapi.net/rest-architectural-constraints/) suggest using a specific HTTP method on a particular type of call made to the server (though technically it is possible to violate this guideline, yet it is highly discouraged).
:information\_source:GET, PUT, POST, DELETE are some of the most commonly used HTTP operations.
To simplify it:
GET - **to retrieve** data and not for making changes to state
POST - **to create new subordinate resources**, e.g., a file is subordinate to a directory containing it or a row is subordinate to a database table.
PUT - **to update an existing resource (if the resource does not exist, then API may decide to create a new resource or not)**.
DELETE - **to delete a resource** or data from the collections
:white\_check\_mark:Drag and drop desired columns from the table or entire table structure as a group by themselves or under parameter.
:white\_check\_mark:Drag and drop columns or parameters as desired based on your API contract structure.
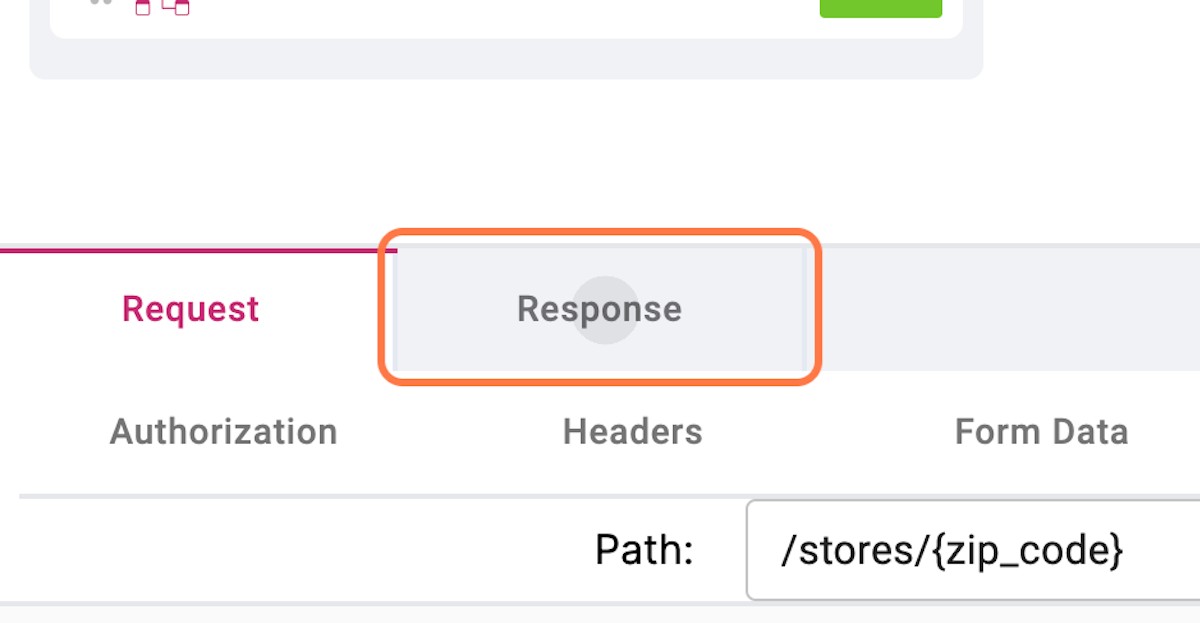
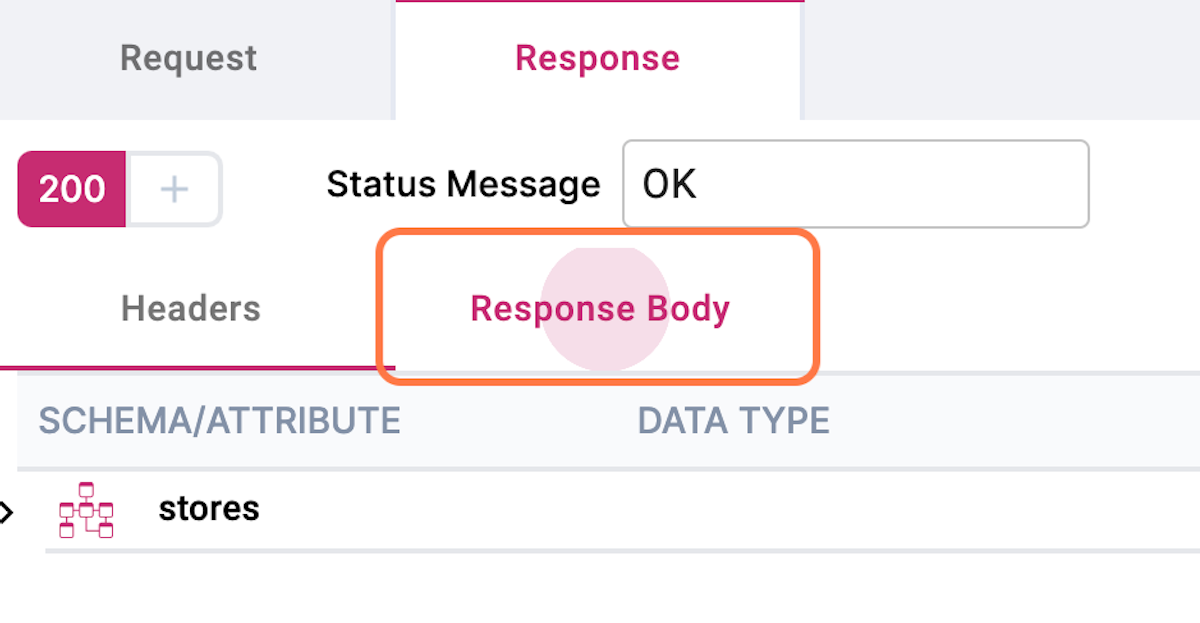
:white\_check\_mark:Click Response tab, drag and drop desired tables or columns in the response body. By default, **200** for success response. If you would like your API to respond with user with proper errors and validations, user status codes like 4xx or 5xx.
:thumbsup:Always use renowned models as guiding principles like Richardson Maturity Model as illustrated [below](https://en.wikipedia.org/wiki/Richardson_Maturity_Model).
### Examine Schema and Simulate payload
:white\_check\_mark:**Visually examine the Schema**
Inspect the operations pre-loaded from the Schema and examine for correctness and completeness of RestAPI operations and contracts.
:white\_check\_mark:**Visually simulate the payload**
:information\_source:Click "SEND" to simulate the request, response payload structure.
### Pre-Publish: Validations and Mapping
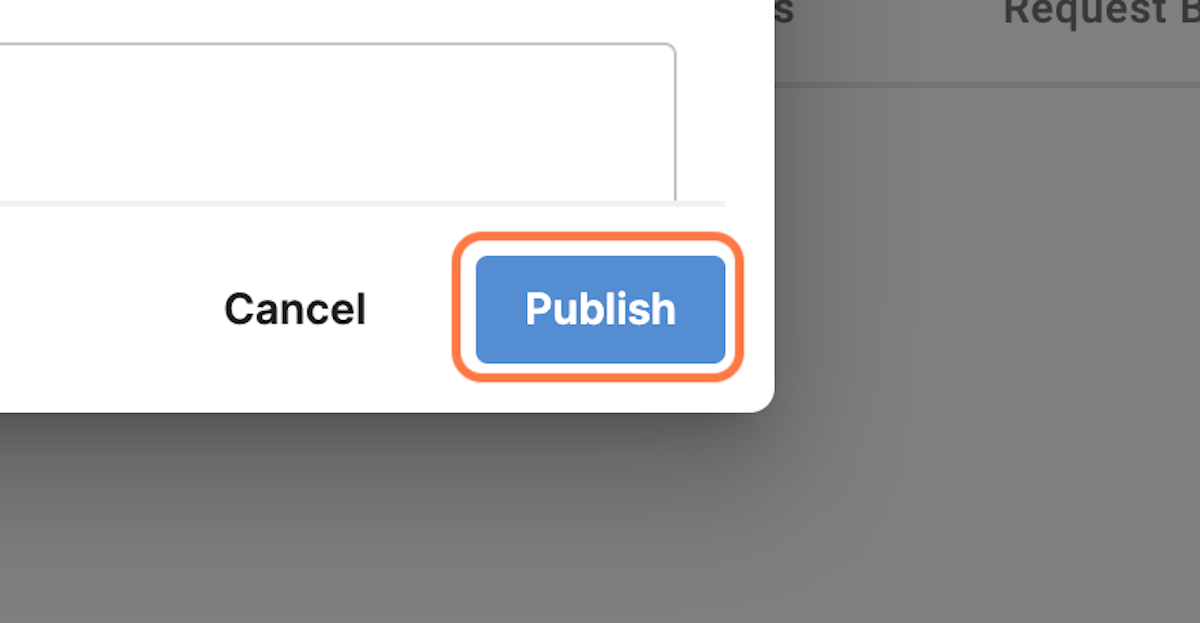
After confirming the contracts, click **"Publish"**

Publish action prepares your API contracts, schema and entities selected for validation against OpenAPI standards as well as mapping complex business logic.
### :white\_check\_mark: **Validations**
Conektto assures thorough validation of API standards. The following are various levels of validations if not addressed, your publish would fail:
1. Naming conventions
2. Descriptions, optional and mandatory parameters
3. Correctness of Operations and components
4. Completeness of Operations Status codes
5. Bare minimum structure of a RestAPI contract (Header, Request Body, Response Body)
### :white\_check\_mark: Business logic: Relationship, joins and filters
:warning:Conektto allows users to validate existing entity relationships. Where the database is not normalized, you are able to define custom mapping between the entities. Additionally users can create Filter conditions for the API.
:heavy\_check\_mark:**Derived Entity Maps** - preloaded maps based on database schema scanning
:heavy\_check\_mark:**User Defined Entity Maps** - custom maps defined by user
:heavy\_check\_mark:**Filters** - custom filter conditions annotated by user
:warning:You will be prompted to confirm the database host credentials for final domain model validation.

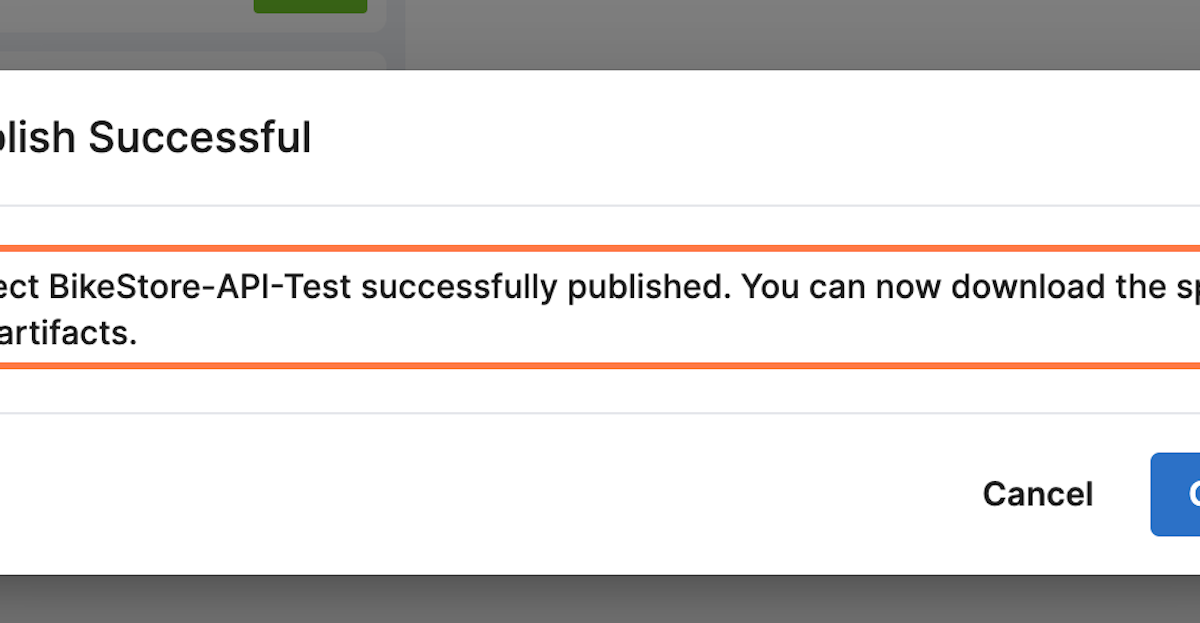
### :white\_check\_mark:**Completing Publish**
:information\_source:Click "Publish". Conektto will create your Autonomous API Test Harness ready to be downloaded from the Dashboard.